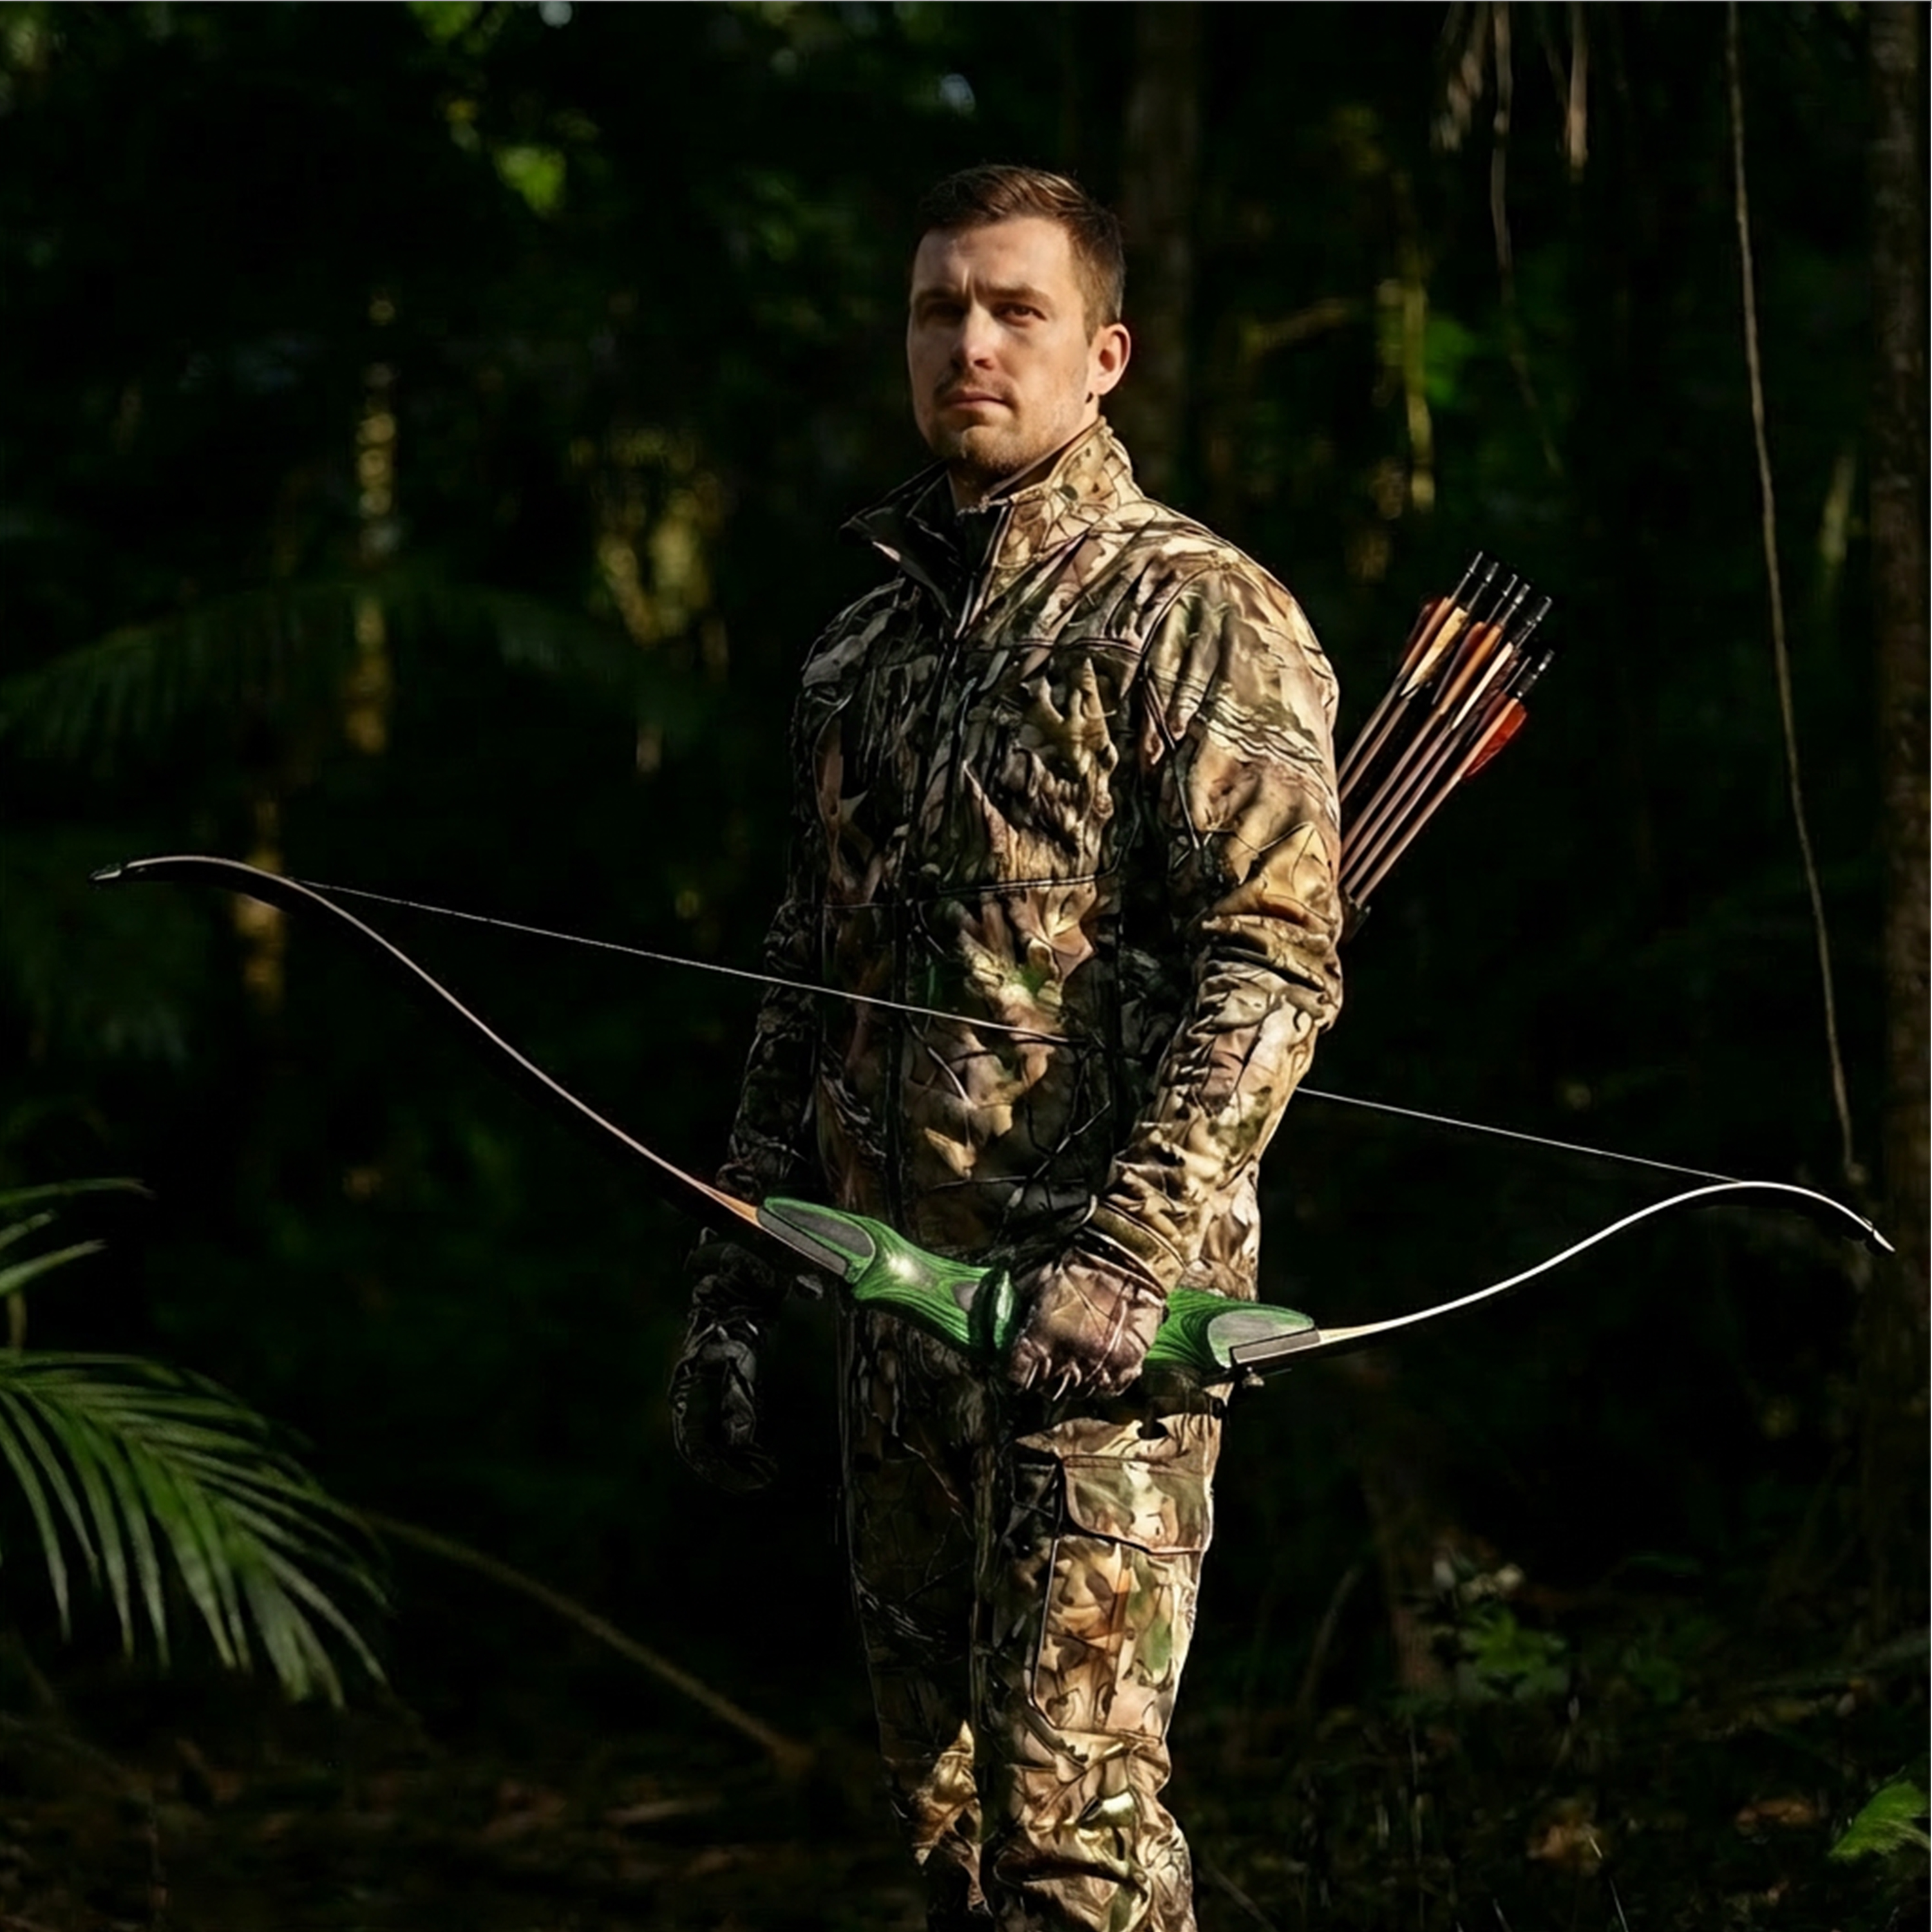
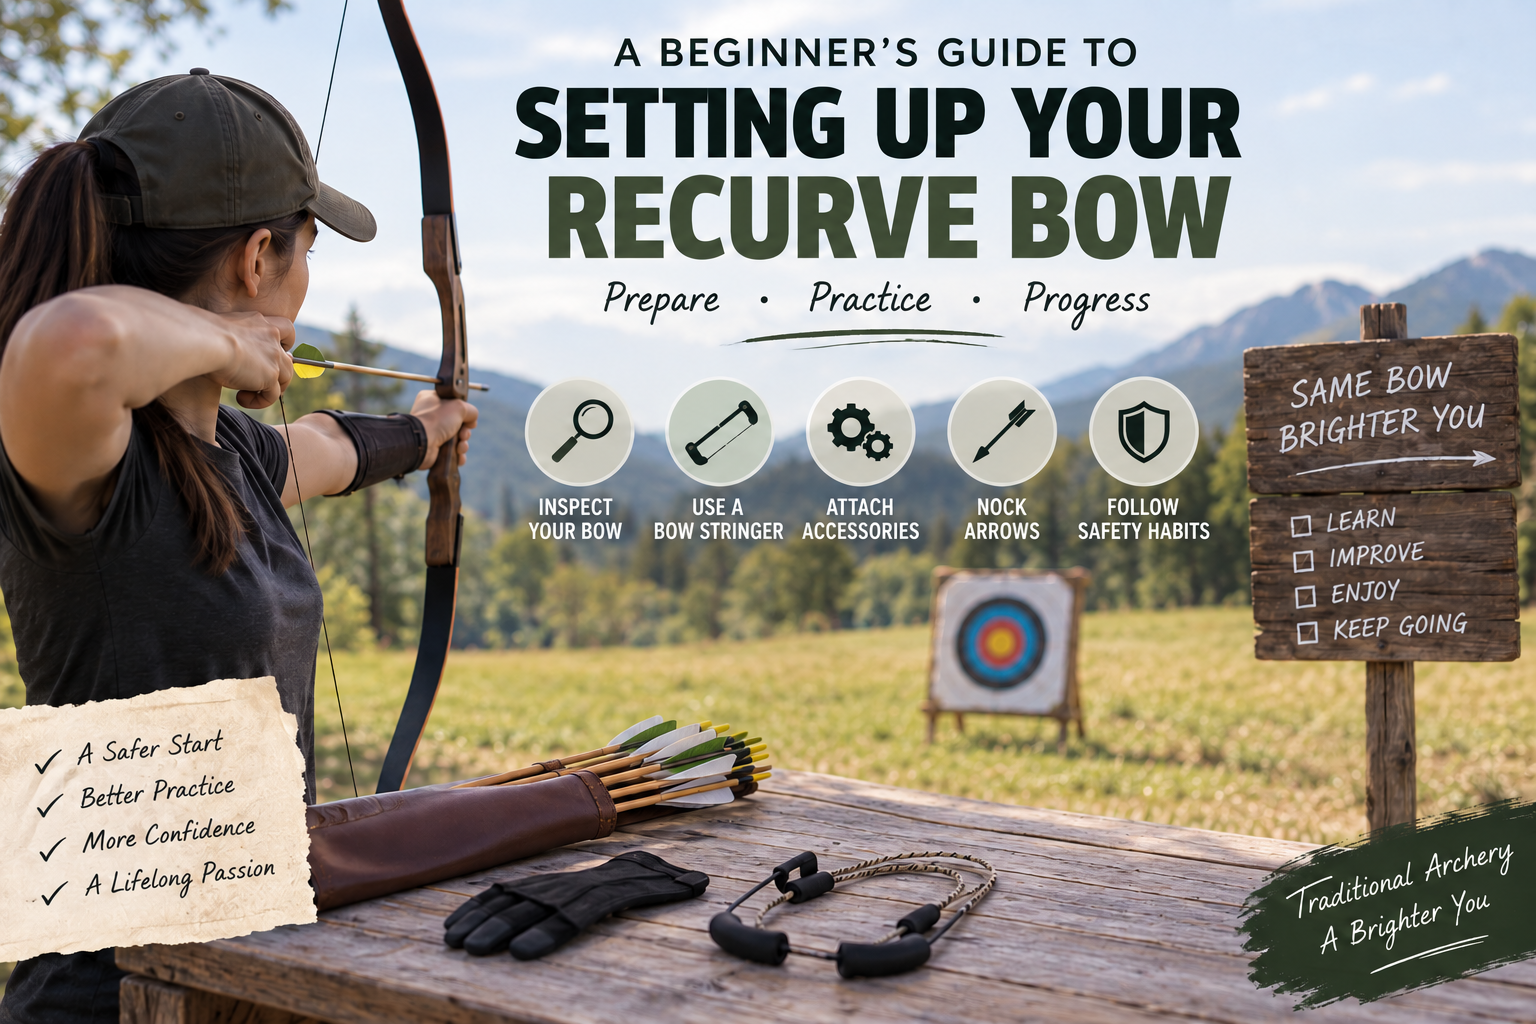
So, you’ve finally decided to dive into the world of traditional archery. Maybe you’ve watched videos of Robin Hood-style shots or admired those elegant curves in a bow shop. Whatever the reason, you now have a recurve bow in your hands, and it’s staring back at you like it expects immediate respect.
Before you nock your first arrow, you need to set up your bow properly. A poorly strung or incorrectly prepared recurve bow can ruin your first experience—or worse, slap you in the forearm and leave a memorable bruise. Lucky for you, we’re about to walk through every step with humor, clarity, and a little bit of archery geekery.
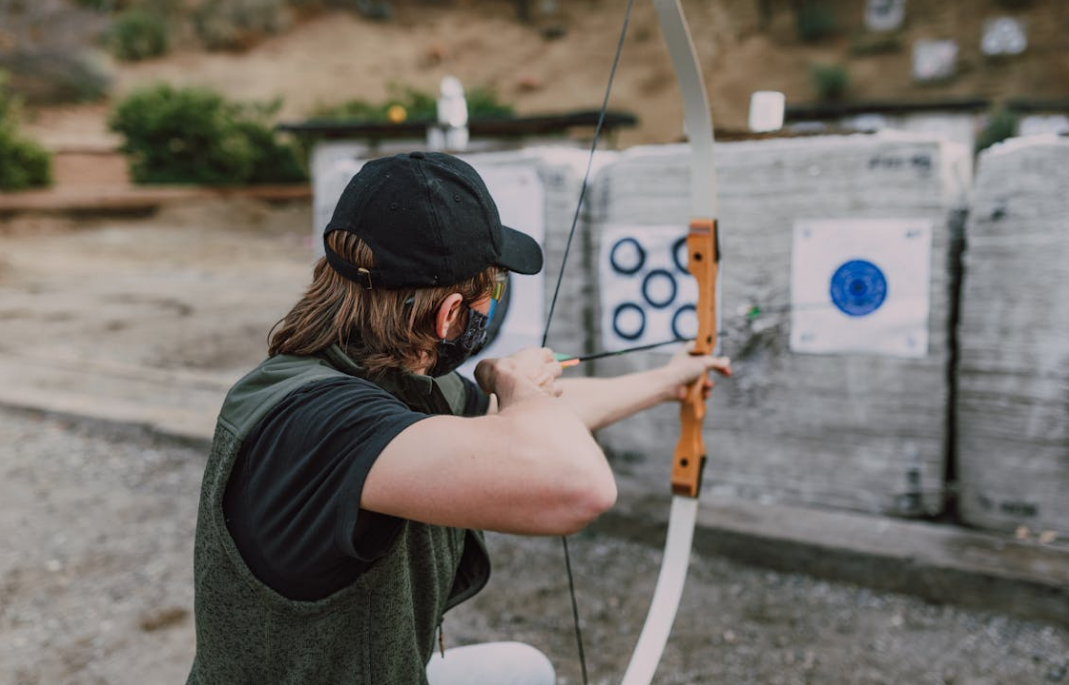
1. Understanding Your Recurve Bow
Traditional recurve bows are elegant and simple in design, but they have some quirks that set them apart:
- Curved limbs: Unlike a longbow, the tips curve away from you, which stores more energy and gives smoother shots.
- No cams or pulleys: You control the full draw. That means your muscles do the work—and yes, it will be a workout.
- Take-down design: Many modern recurve bows can be separated into riser (handle) and limbs for easy transport.
Before you start poking and prodding, know which type you have. A take-down bow is easier to travel with but requires correct limb attachment. A fixed-limb bow is simple but requires extra care when stringing.
Beginner-Friendly Recurve Bow Overview
2. Safety First: Don’t Become the “Bow Bruise” Story
Even beginner recurve bows pack power. String slap, dropped limbs, or a misaligned nock can lead to pain, embarrassment, or worse.
Essential safety gear:
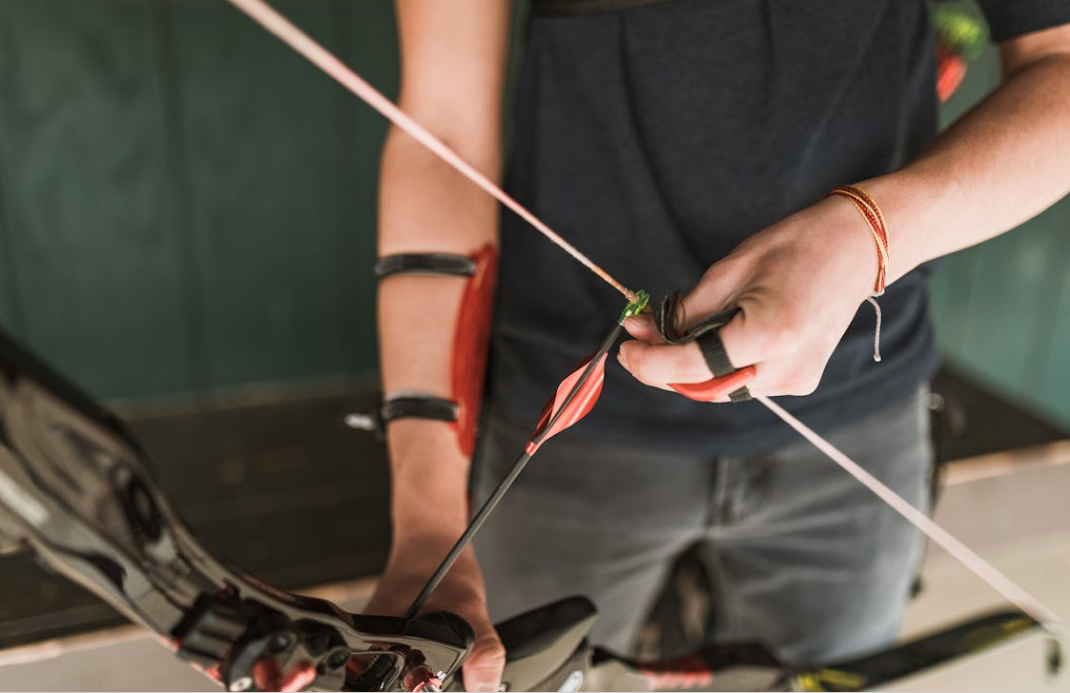
- Arm guard: Protects your forearm from string slap. Trust me, it hurts more than you think.
- Finger tab or glove: Prevents blisters and makes release smoother.
- Clear practice space: Remove obstacles and pets—your bow doesn’t negotiate.
Safety isn’t glamorous, but it keeps your archery journey fun and injury-free.
3. Preparing to String Your Bow
Strung incorrectly, a recurve bow becomes a “self-defense tool for beginners.” Follow these steps carefully:
Step 1: Inspect Your Bow
- Check limbs for cracks or splinters.
- Make sure the riser (handle) is intact and smooth.
- Ensure your string isn’t frayed or worn.
Even a tiny flaw can turn a simple practice session into a disaster movie.
Step 2: Use the Right Tools
- Bow stringer: Absolutely essential. Yes, you could try the “step-through” method, but it’s awkward, risky, and may send you straight to YouTube fail compilations.
- Your new bowstring: Make sure it matches the bow length and limb type.
Recommended Bow String for Beginners
4. Stringing Your Recurve Bow
Using a bow stringer is simple, safe, and makes you look slightly heroic.
Steps:
- Attach the string loops to the tips of your bow. The larger loop goes on the top (upper limb).
- Slide the bow stringer’s saddle or pocket over the lower limb and step on it.
- Pull the bow up with both hands until the limbs flex and the string pops into place.
- Double-check that the string sits correctly in the limb tips’ grooves.
Voilà! Your bow is strung and ready to shoot. If you hear cracking, stop immediately—recheck your limbs and string placement.
How to Safely String a Recurve Bow
5. Attaching Accessories
Traditional recurve bows keep things simple, but a few accessories make life easier and safer:
- Arrow rest: Protects the bow shelf and stabilizes arrows. Leather or stick-on rests are fine for beginners.
- Stabilizer: Optional, but reduces hand shock and makes your shots smoother.
- Sight (optional): Helps beginners aim, though traditionalists often go barebow for challenge and authenticity.
Beginner Recurve Bow Accessories
6. Nocking Your First Arrow
Nothing says “I’m a beginner” like shooting an arrow straight into the dirt. Correct nocking prevents accidents and improves accuracy.
Steps:
- Place the arrow’s nock on the string at the designated nocking point.
- Make sure the odd-colored fletching faces away from the bow.
- Rest the arrow on the arrow rest.
- Draw, anchor, and aim.
Pro tip: Practice nocking and drawing without releasing until you’re comfortable. Muscle memory is your friend.
7. Common Beginner Mistakes
- Skipping the bow stringer: A classic mistake. Hands-on experience is fun, but stringers save limbs and fingers.
- Wrong string tension: Too tight or loose affects arrow flight and can damage the bow.
- Ignoring limb orientation: Reversing upper and lower limbs? Brace for weird shots and possibly a bruise.
- Over-tightening accessories: Sight or rest too tight can warp the bow or misalign arrows.
Avoid these, and your first archery session will be fun instead of painful.
8. Mental Prep for Shooting
Traditional recurve bows are as much about technique as equipment. Before your first practice:
- Relax: Don’t tense up. Tension translates to shaky aim.
- Breathe: Steady breath = steady shot.
- Focus: Start at short distances (10–15 yards) to build confidence.
Remember, missing a target is fine—it’s called “practice.” Your bow doesn’t care about your ego.
9. Maintaining Your Bow
A well-cared-for bow lasts years. Beginners often forget:
- Unstring after practice: Preserves limb strength and prevents warping.
- Check for cracks: Inspect limbs and riser regularly.
- Wax the string: Protects it from fraying and snapping.
- Store safely: Dry, cool, and away from direct sunlight.
10. Recommended Beginner Setup
- Riser: Lightweight, comfortable grip
- Limbs: Medium draw weight (25–35 lbs for most beginners)
- Bowstring: Correct length and material
- Accessories: Leather arrow rest, arm guard, finger tab
- Optional: Sight and stabilizer for target practice
With this setup, you’ll be ready to shoot safely, comfortably, and with growing confidence.
11. FAQs
Q1: Do I need a bow stringer for all recurve bows?
Yes. Even experienced archers swear by it. It’s safer and reduces strain on limbs.
Q2: Can I string a recurve without a bow stringer?
Technically, yes—but it’s riskier. Beginners should always use a stringer.
Q3: How often should I replace my string?
Inspect each session. Replace at first sign of fraying, stretching, or damage.
Q4: Is a 25–35 lb bow enough for a beginner?
Yes. Light enough for form practice, strong enough to enjoy proper shooting.
12. Conclusion
Setting up your first traditional recurve bow doesn’t have to be intimidating. With a bow stringer, proper inspection, and basic accessories, beginners can safely and confidently prepare for their first shot. Take the time to practice nocking, drawing, and maintaining your bow—it pays off in smoother shots and fewer bruises.
Ready to start your archery journey? Explore our beginner-friendly recurve bows, grab a bow stringer, and don’t forget an arm guard and finger tab to protect yourself while mastering your shots.
Remember, archery is part skill, part patience, and 100% fun. Happy shooting!